Pekoe Trail Mobile App User Manual
- Getting Started - The Pekoe Trail App Manual
- Home Screen Overview - The Pekoe Trail App Manual
- Stages - The Pekoe Trail App Manual
- Stage Profile - The Pekoe Trail App Manual
- Trail Passes - The Pekoe Trail App Manual
- Track Trail Progress - The Pekoe Trail App Manual
- User Profile - The Pekoe Trail App Manual
- Password Recovery - The Pekoe Trail App Manual
Getting Started - The Pekoe Trail App Manual

Introduction
Discover Sri Lanka's Hill Country with The Pekoe Trail mobile app! This app is specifically designed to enhance your outdoor adventures by providing comprehensive trail navigation, progress tracking and statistics, and points of interest when exploring the splendors of Sri Lanka's hill country.
Whether you are a seasoned hiker or a beginner, The Pekoe Trail mobile app offers tools and resources to make your experience enjoyable and safe. Our mobile app is your ultimate companion for an unforgettable hiking adventure.
How to Install
For Android Users:
-
Open the Google Play Store app on your mobile device.
-
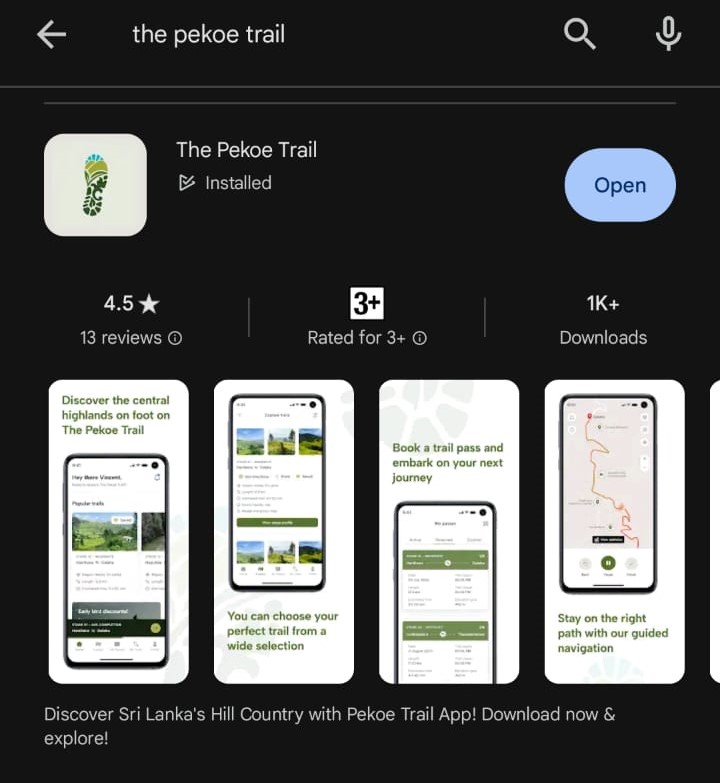
Search for "The Pekoe Trail" or use this link.
-
Tap "Install" to download and install the app (If you see the “Open” button instead of a “Install” button, you already have downloaded that app.)
-
Once installed, tap "Open" to launch the app.
For iOS Users:
-
Open the “App Store” app on your mobile device.
-
Search for "The Pekoe Trail" or use this link.
-
Tap the “Price” or “Get” button. (If you see the “Open” button instead of a “Price” or “Get” button, you already have either bought or downloaded that app.)
-
Double-click the side button on the right side of your iPhone or the top button on your iPad to complete your purchase.
-
If you use Face ID or Touch ID to unlock your device, you'll glance at your device or touch the ‘Home’ button to authenticate the download.
-
You should enter your Apple ID password to complete the download.
-
Getting Started
-
Once the app is installed, tap on “The Pekoe Trail” app icon.
-
You will be directed to an introductory page of the app. To navigate between its content pages tap “Next”. To skip to the Sign-Up procedure, tap “Skip”.


Creating an Account
General Signup
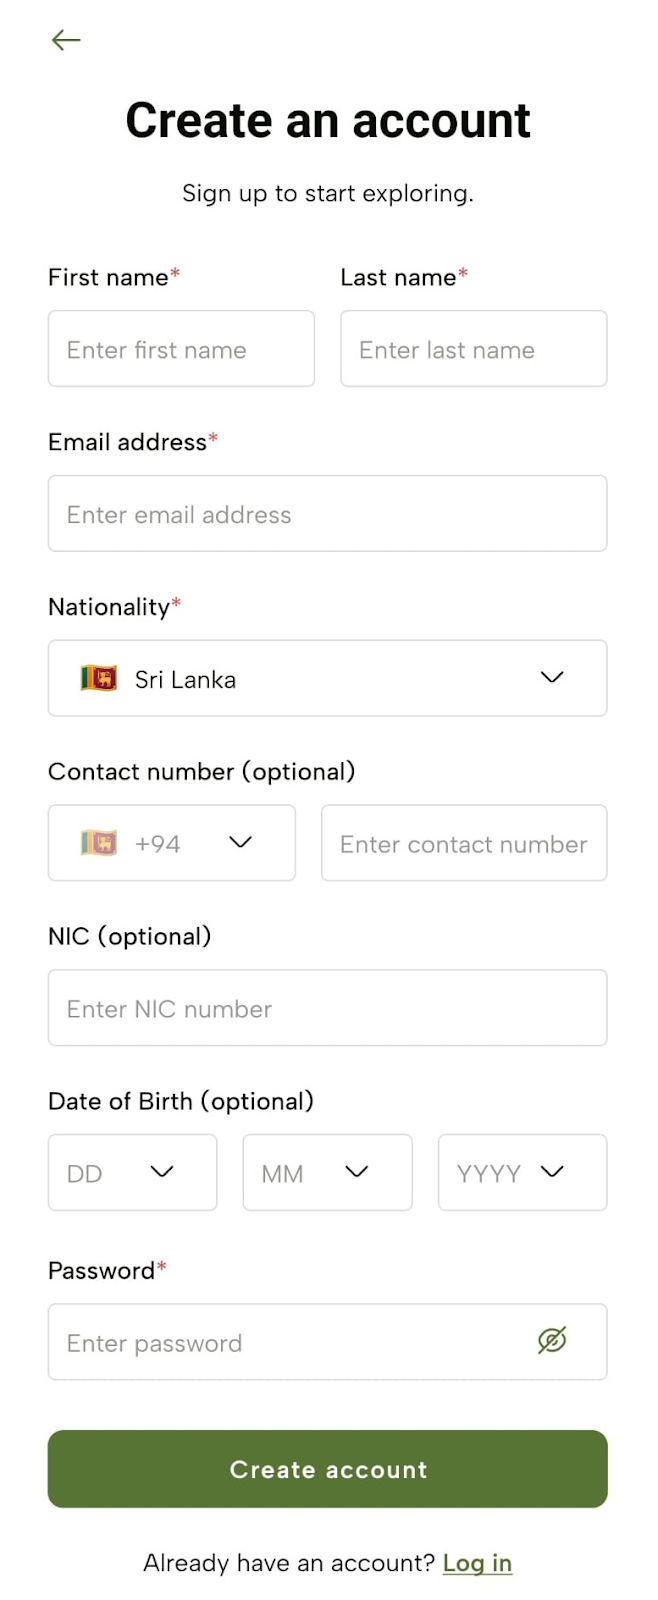
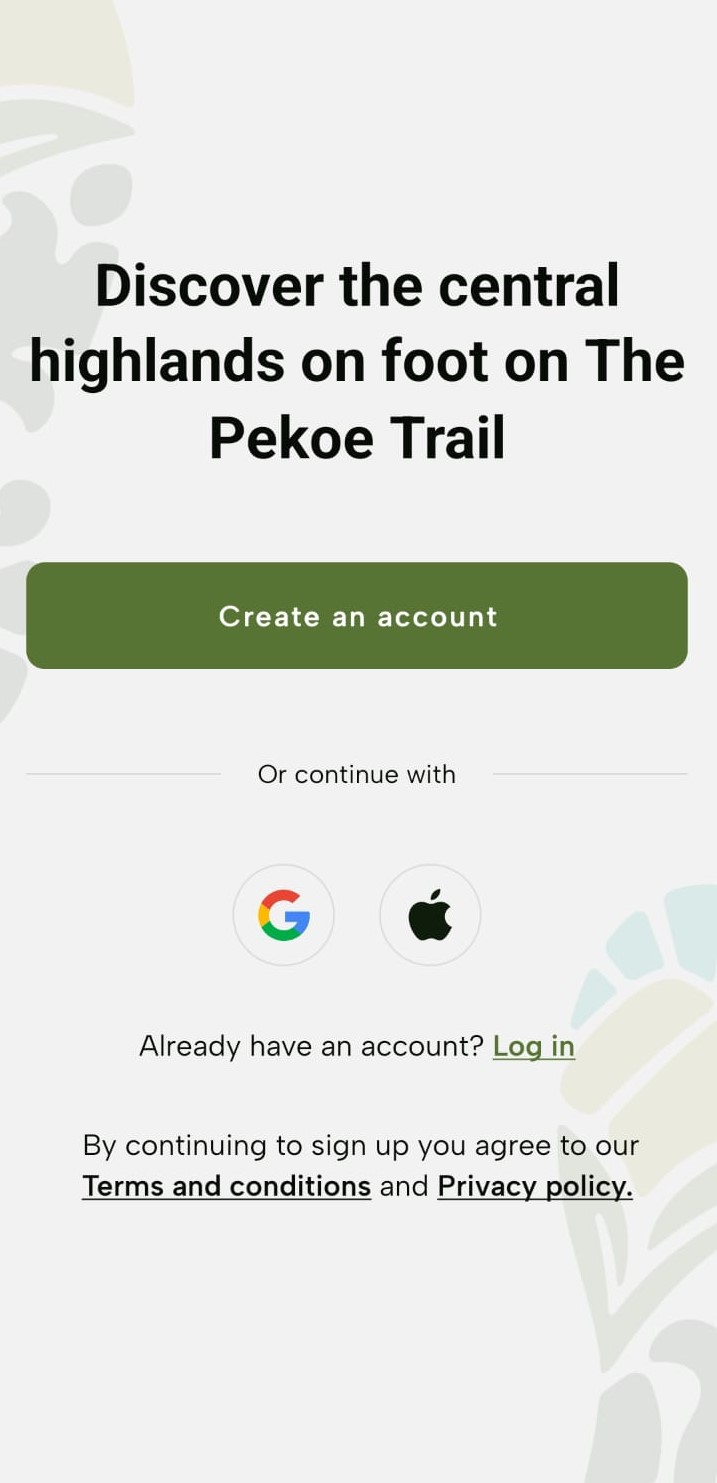
Upon navigation to the Landing Page, tap “Create an account”.


- Enter your details; such as First Name, Last Name, Email Address, Nationality, Contact Number (optional), NIC (optional), Date of Birth (optional), and Password (optional) and tap "Create account".
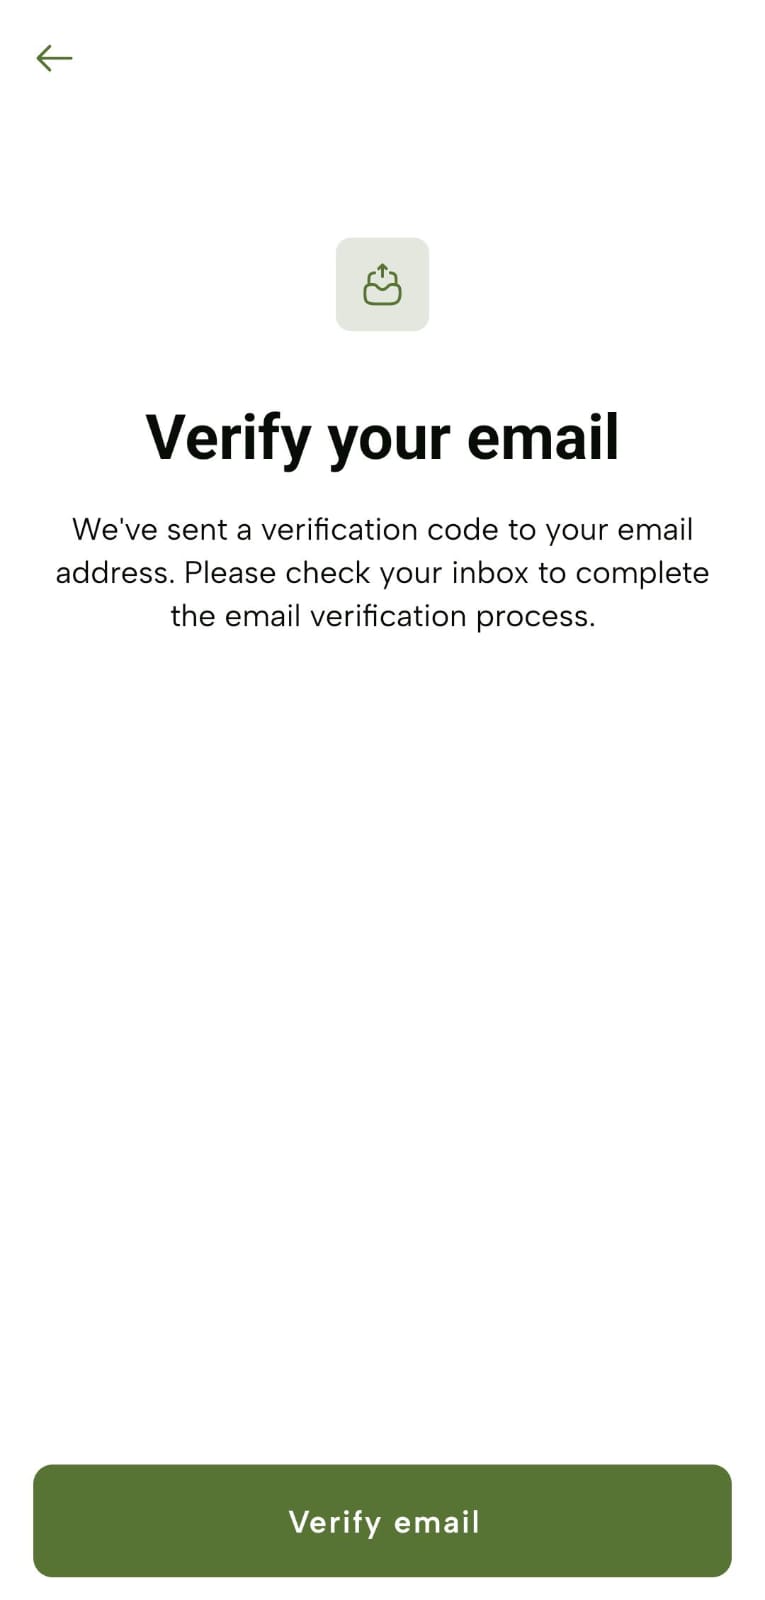
- Get prompted with the “Verify your email” screen and tap “Verify email”.
-
Receive a verification code to the entered email address and enter that code on the “Enter verification code” screen.
-
The code expires in 2 minutes.
-
If you didn’t receive the code or 2 minutes expired, tap “Re-send”.

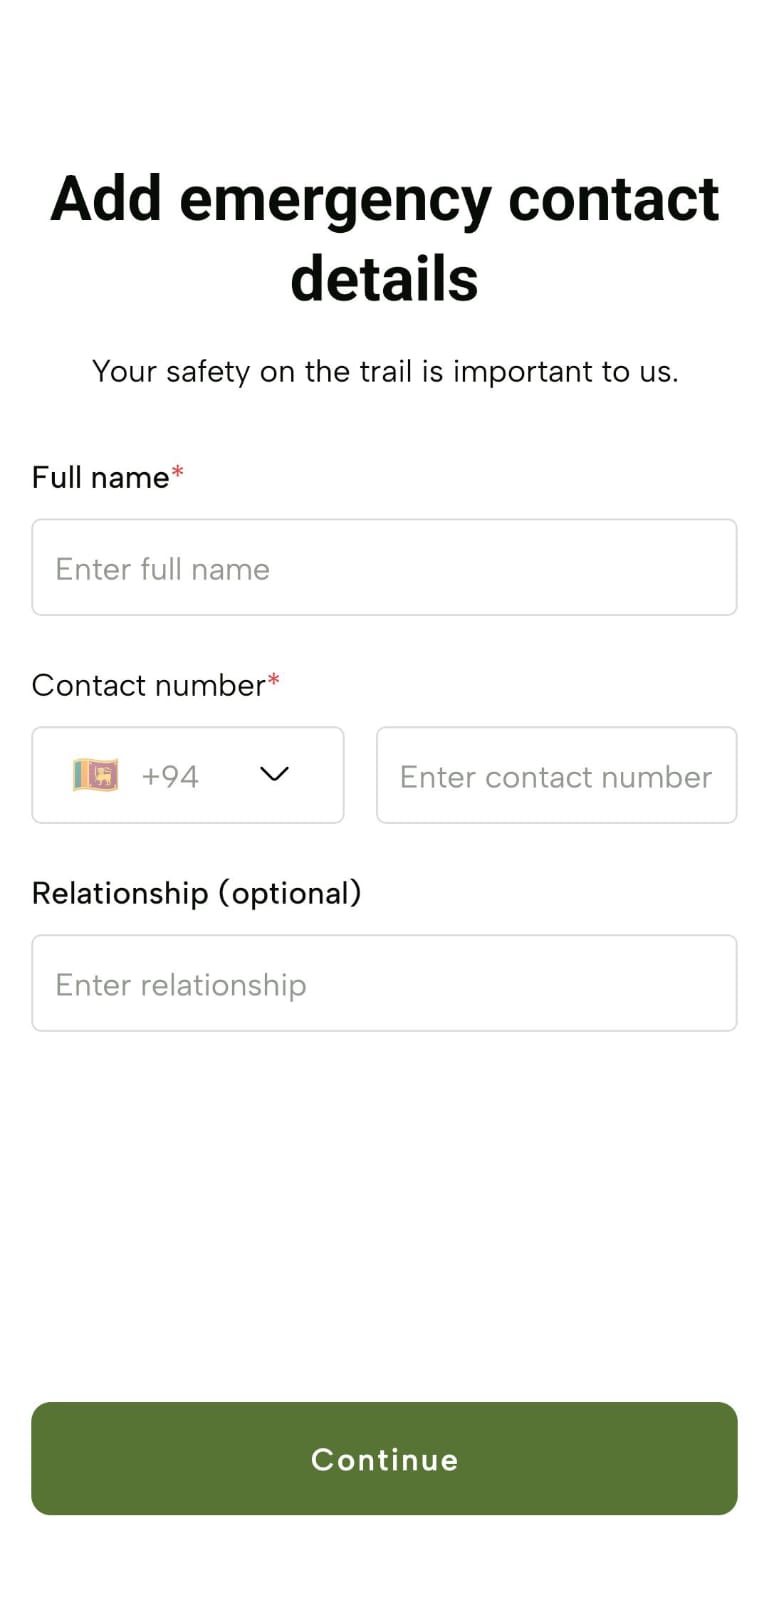
- Upon successful verification, get prompted with the “Add emergency contact details” screen, enter the required details and tap “Continue”.
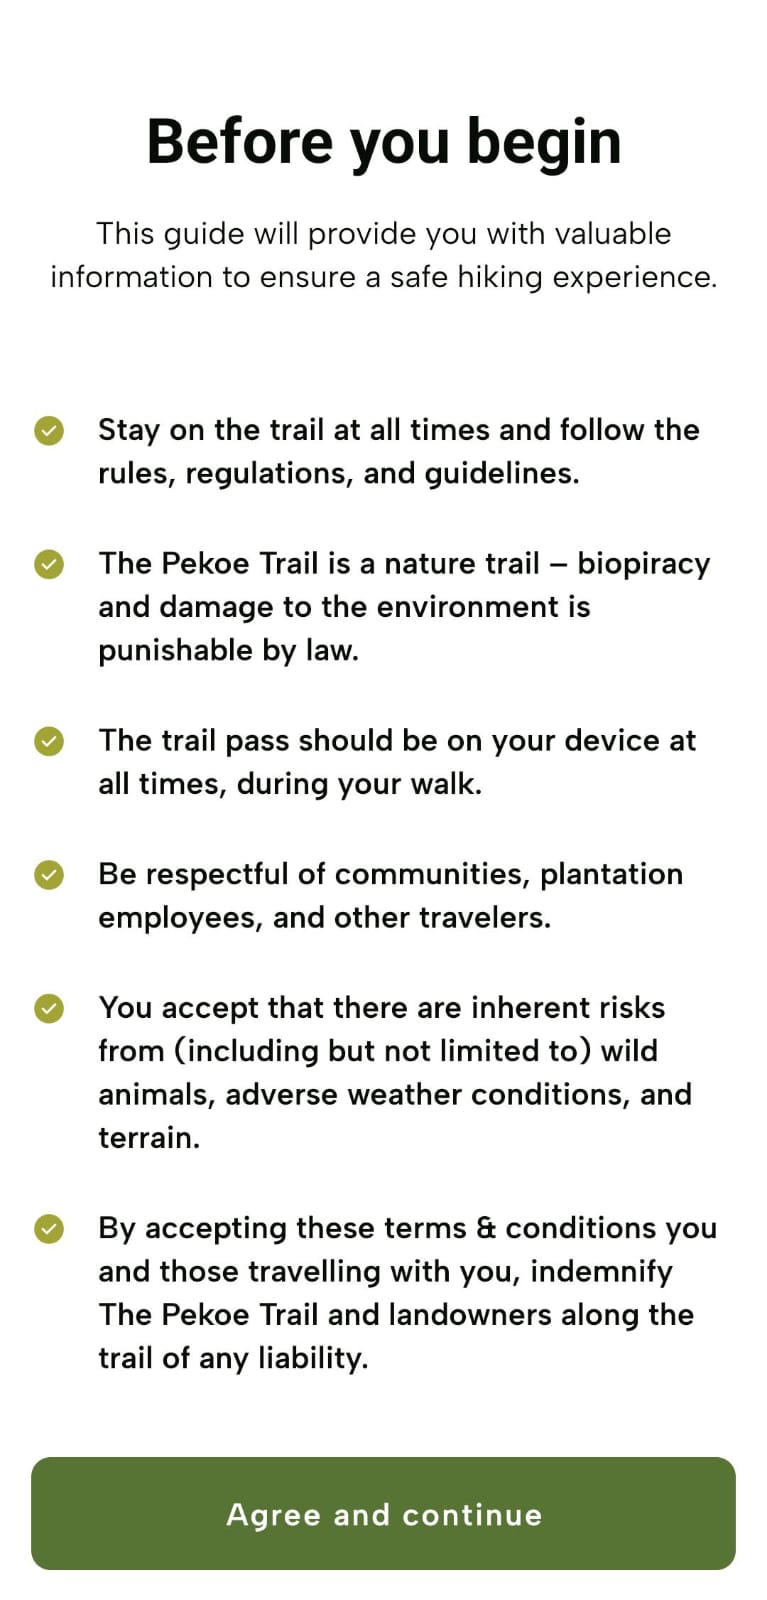
- You will now see guidelines for the hiking experience screen which you should tap “Agree and continue”.
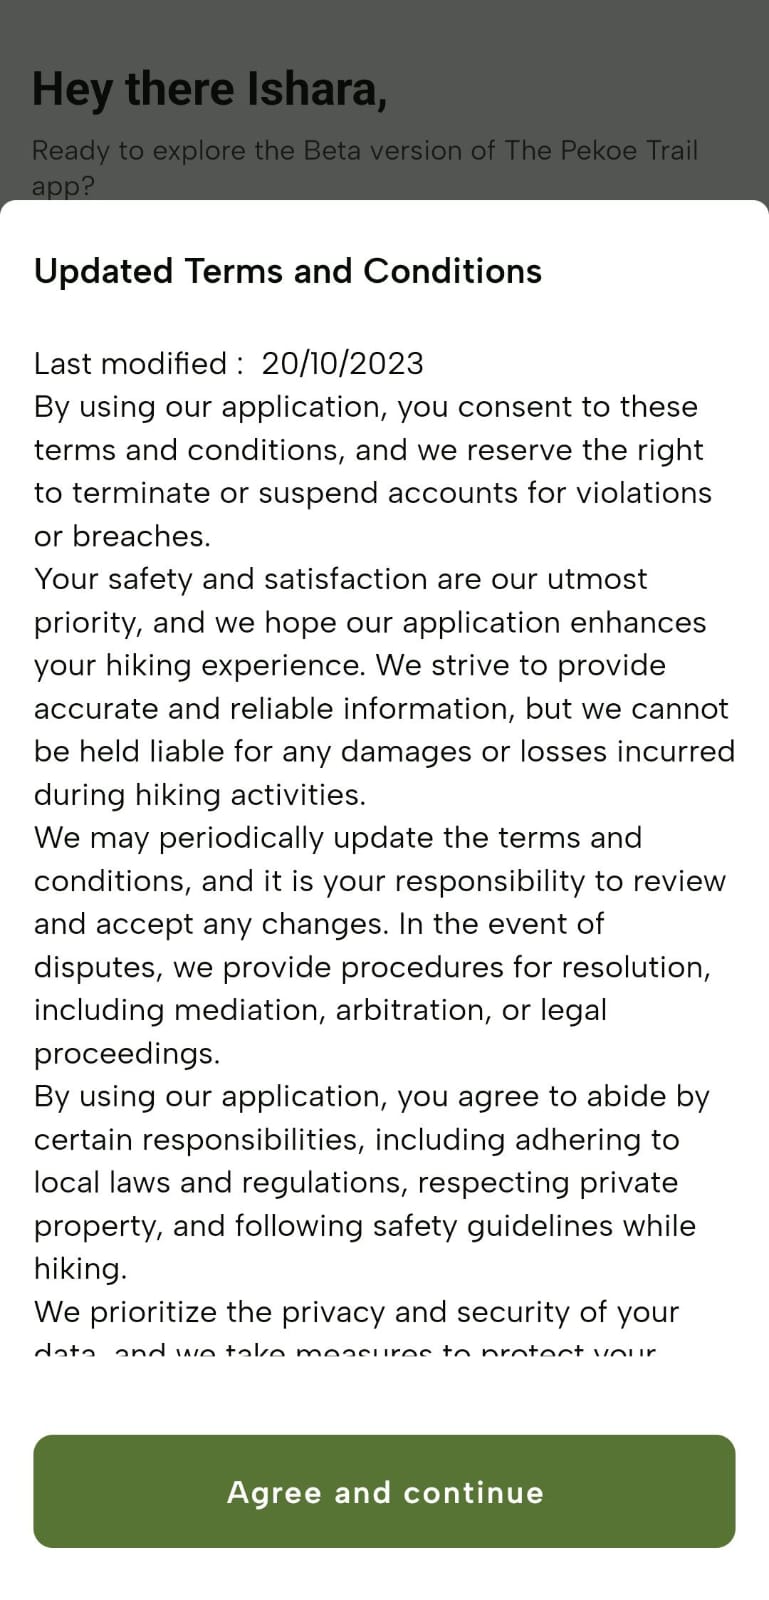
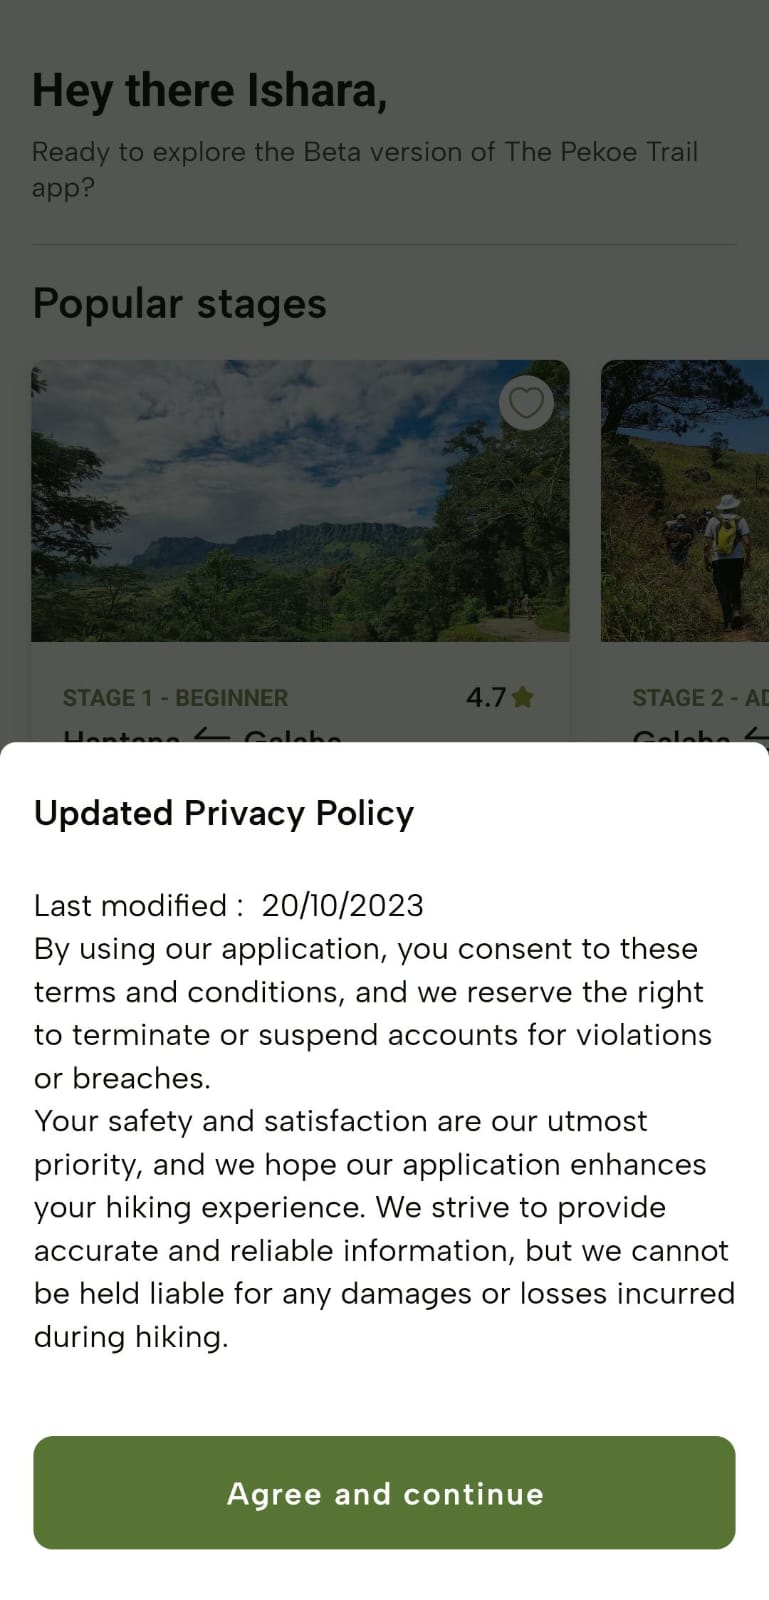
- Upon tap, the “Updated Terms and Conditions” screen and then the “Updated Privacy Policy” screen will be displayed. Tap “Agree and continue” on each screen. Now, you are successfully logged in to The Pekoe Trail mobile app with your newly created user account.
Creating an Account - Via Google or Apple
Using a Google Account:
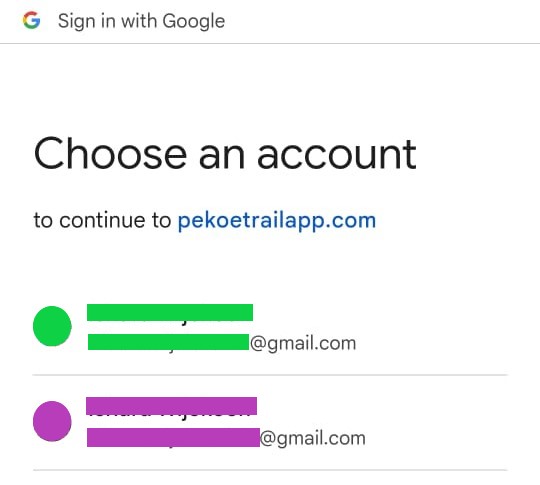
- Tap the Google icon on the Landing Page.
Navigate to select the preferred Google Account and proceed to sign up with that account.
Using an Apple Account:
Tap the Apple icon on the Landing Page.
Navigate to review your information, and sign up quickly and securely with Face ID, Touch ID, or your device passcode.

Logging In
General Sign-In
-
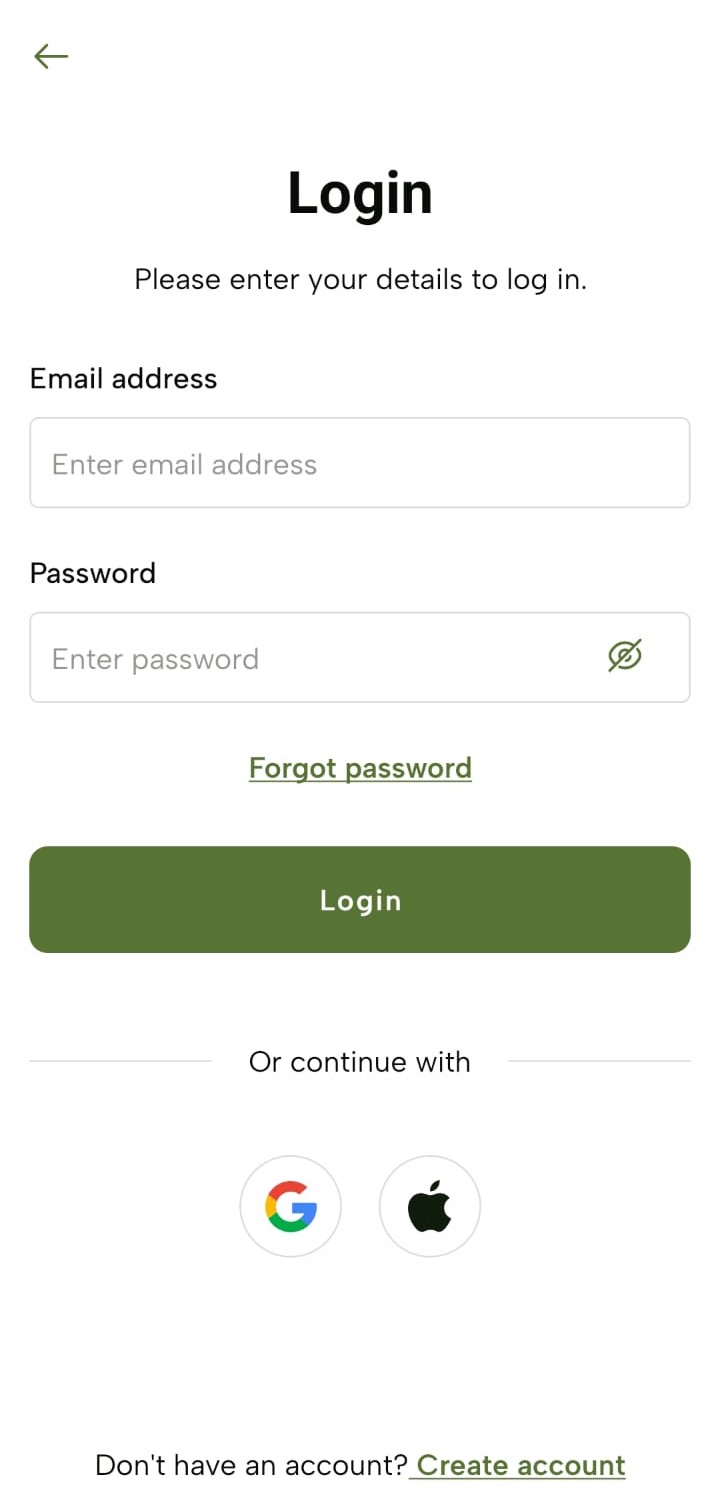
Tap The Pekoe Trail app icon and navigate to the “Login” screen.
-
Enter your login credentials: Email Address and Password and tap “Login”.
You can view the Password while or after typing it by tapping the “Eye” icon.

Logging In via Google or Apple
Using a Google Account:
Tap the Google icon on the “Login” screen.
Navigate to select the preferred Google Account and proceed to log in with that account.
Using an Apple Account:
Tap the Apple icon on the Landing Page.
Navigate to review your information, and log in quickly and securely with Face ID, Touch ID, or your device passcode.
Home Screen Overview - The Pekoe Trail App Manual
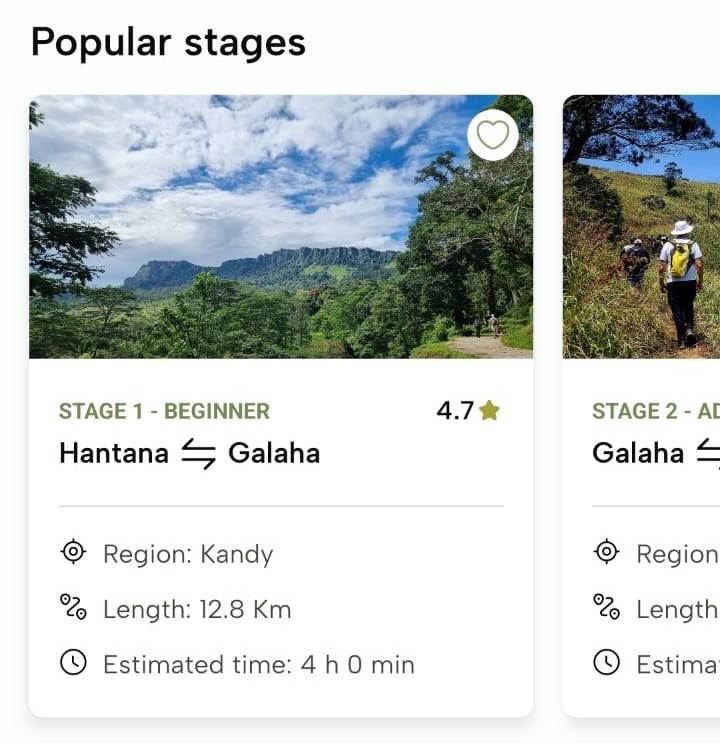
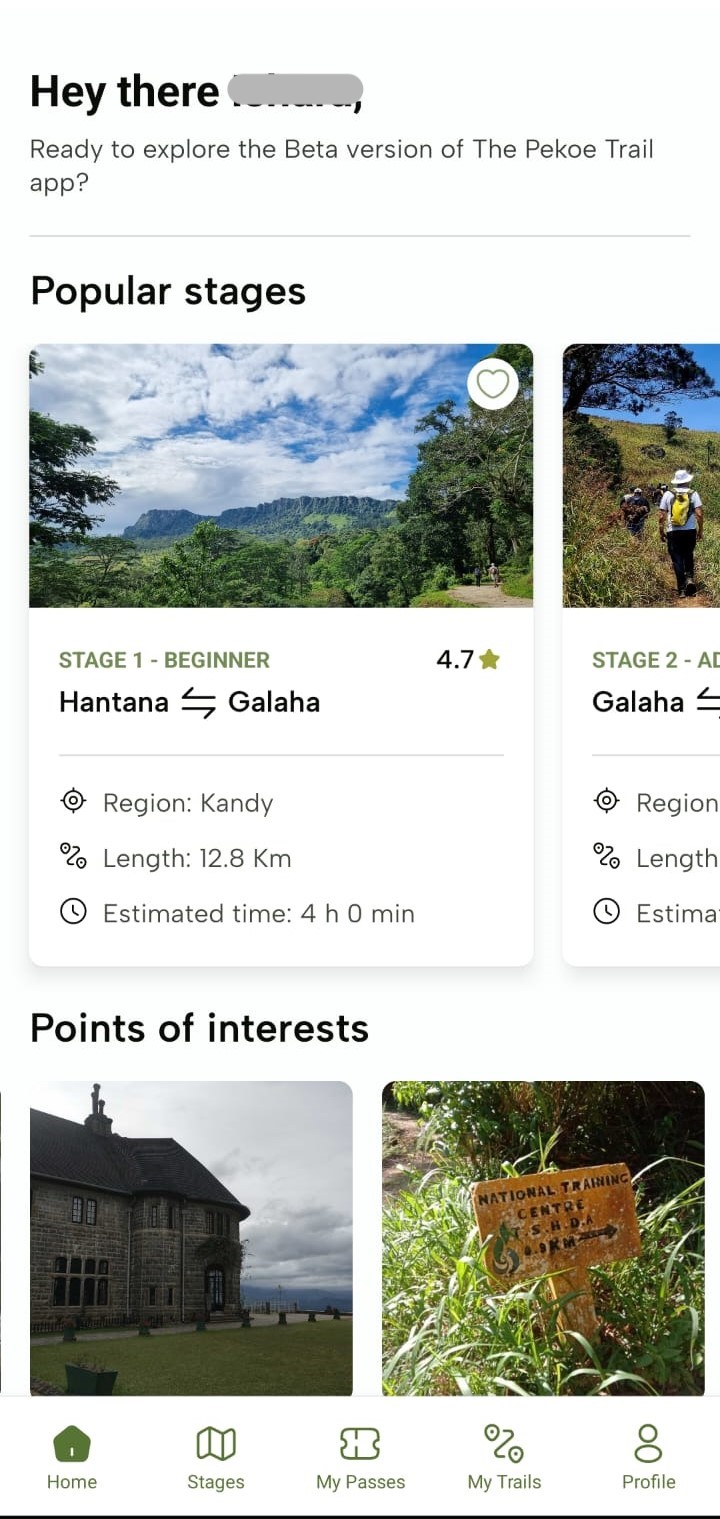
Popular stages
These are only the first 10 stages but these are not all the stages. Click “Stages” in the footer section to see all the stages.
“Points of interests”
These are samples of points of interest along the trail. Additional points of interest are found in the profiles for each stage

Footer
On the footer of the “Home” screen, you’ll see the following icons: “Home”, “Stages”, “My Passes”, “My Trails” and “Profile”. The “Home” icon is selected by default.
Stages - The Pekoe Trail App Manual
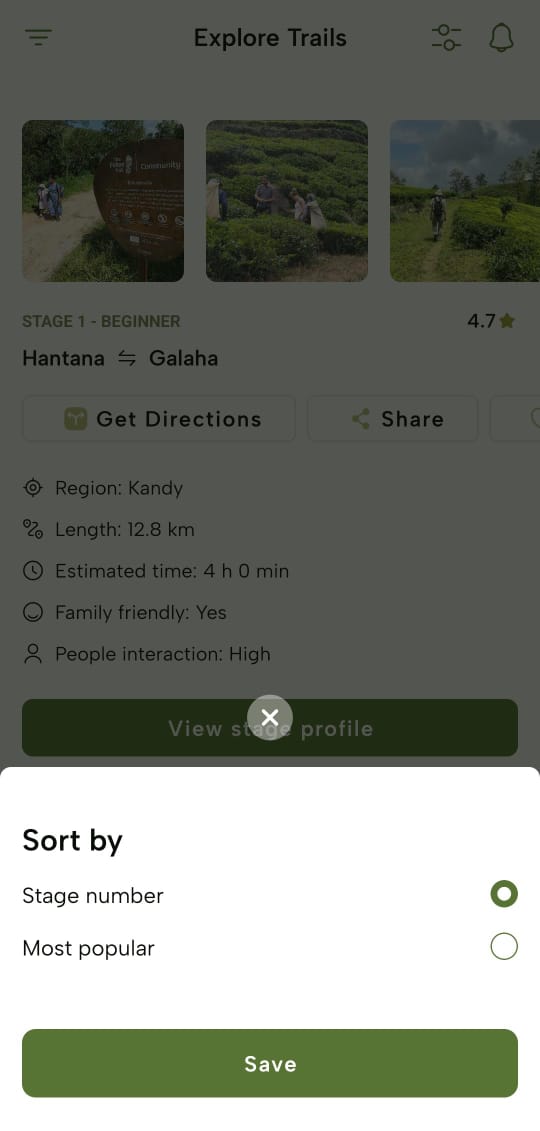
Sorting Stages
-
You can sort the stages by:
-
Stage number
-
Most popular
-
-
Upon selecting an option, tap “Save” and you will see stages accordingly.
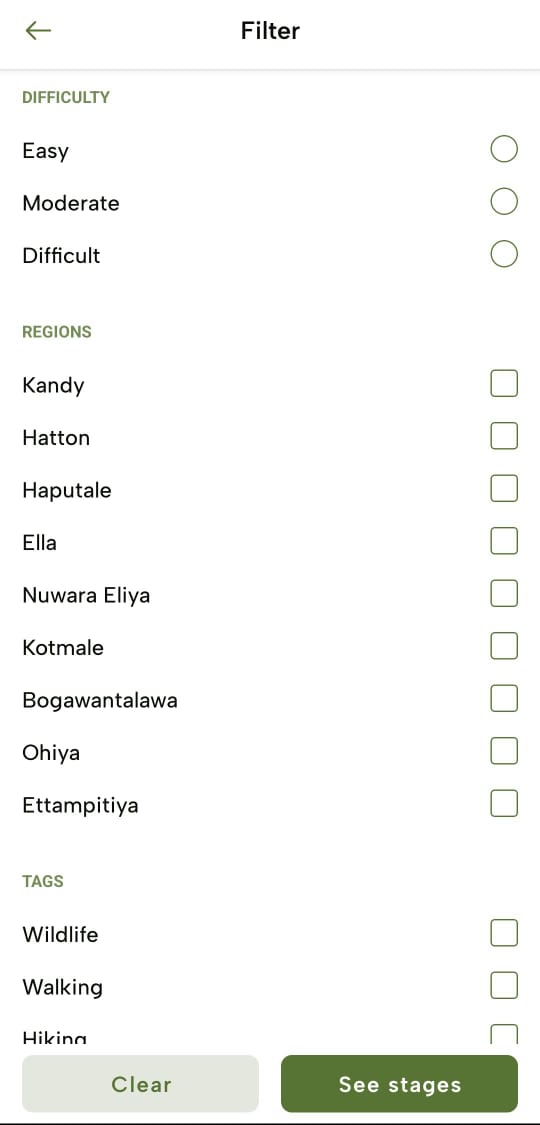
Filter Stages
-
You can also filter the stages by following filter options;
-
Difficulty
-
Regions
-
Tags
-
People Interaction
-
Trail Length
-
Family Friendly
-
-
Upon applying the filter criteria, tap “See stages” and you’ll view the filtered stages. To clear the filters, tap “Clear”.
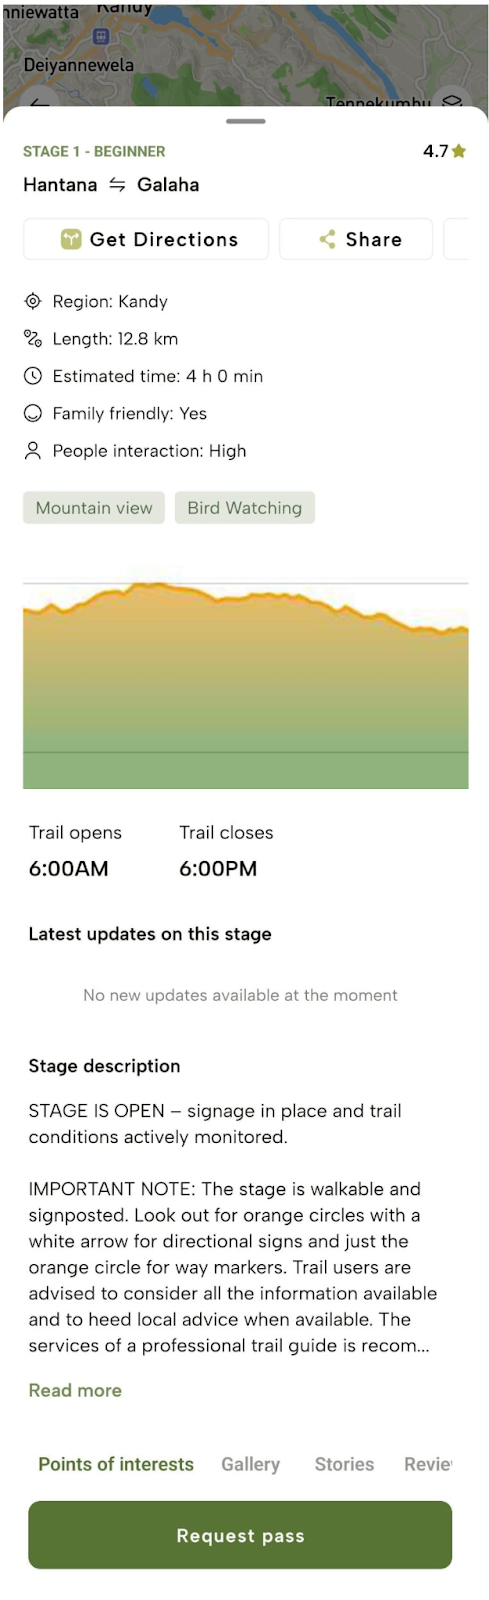
Stage Profile - The Pekoe Trail App Manual
Trail Description
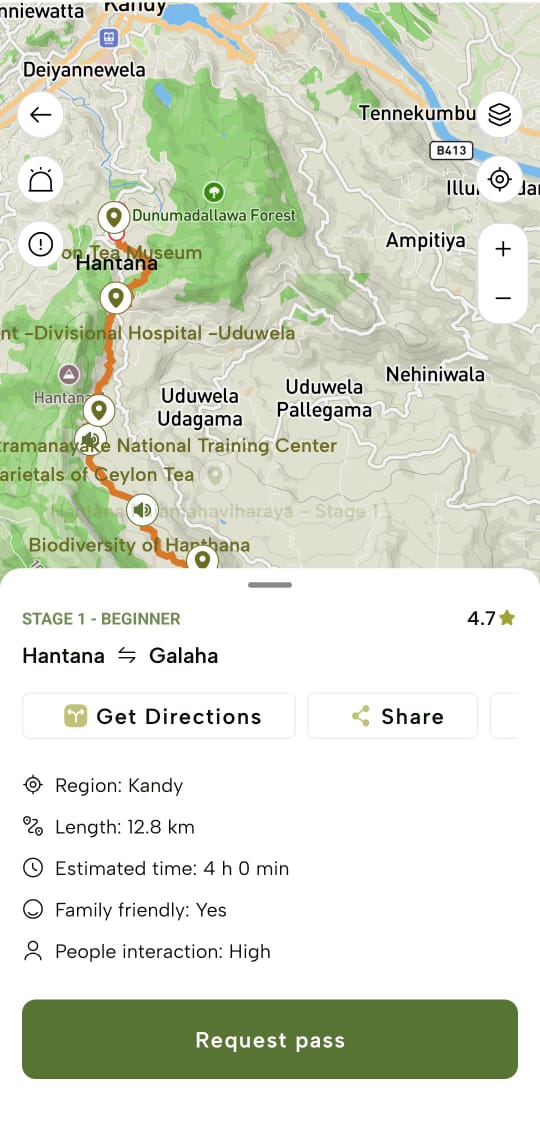
Tap “View stage profile” of a specific stage to view detailed information, including Distance, Estimated time, Elevation, Latest Updates, etc. Please be advised that the estimated time may be different for each person. We suggest giving yourself additional time unless you are an experienced hiker.
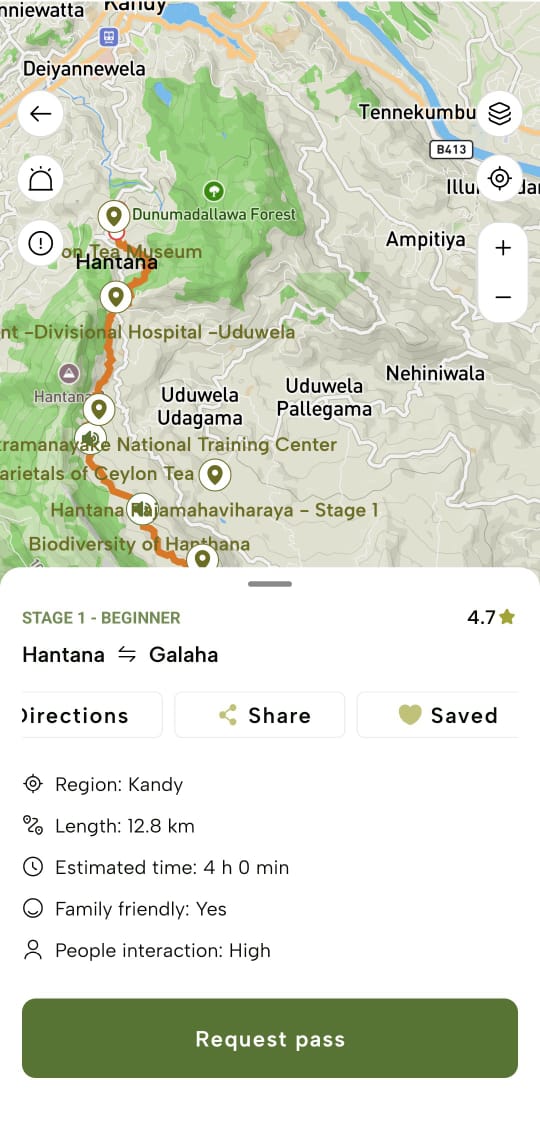
Trail Map
These trail maps are provided for each trail for ease of navigation through the trail.
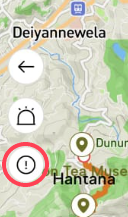
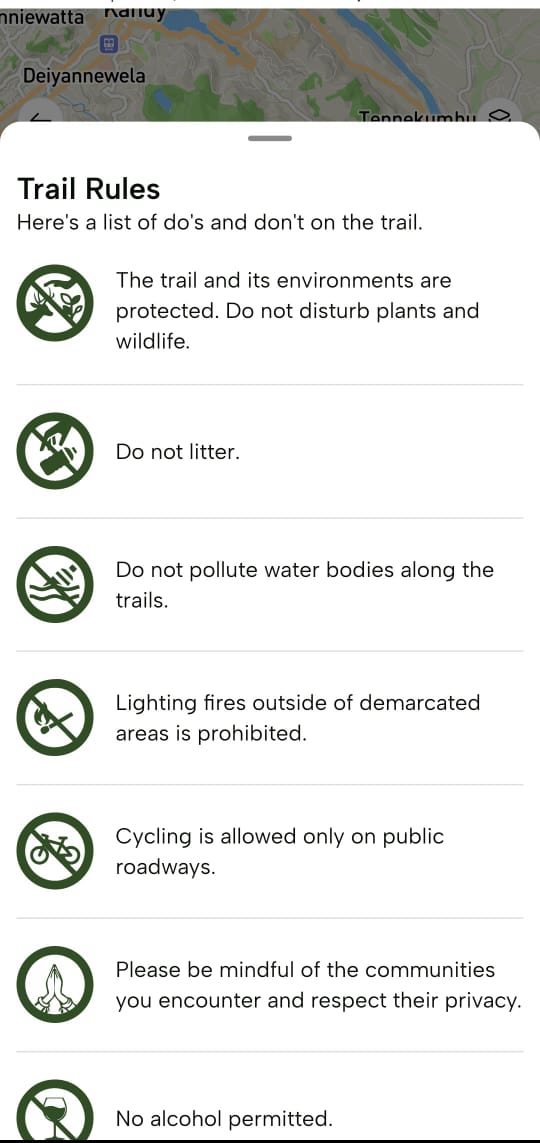
Trail Rules
Tap the “Information” icon on the trail map to view “Trail Rules” provided as guidelines to follow while hiking through the trail.
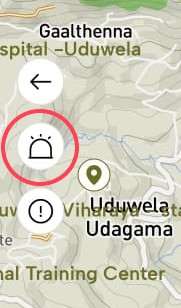
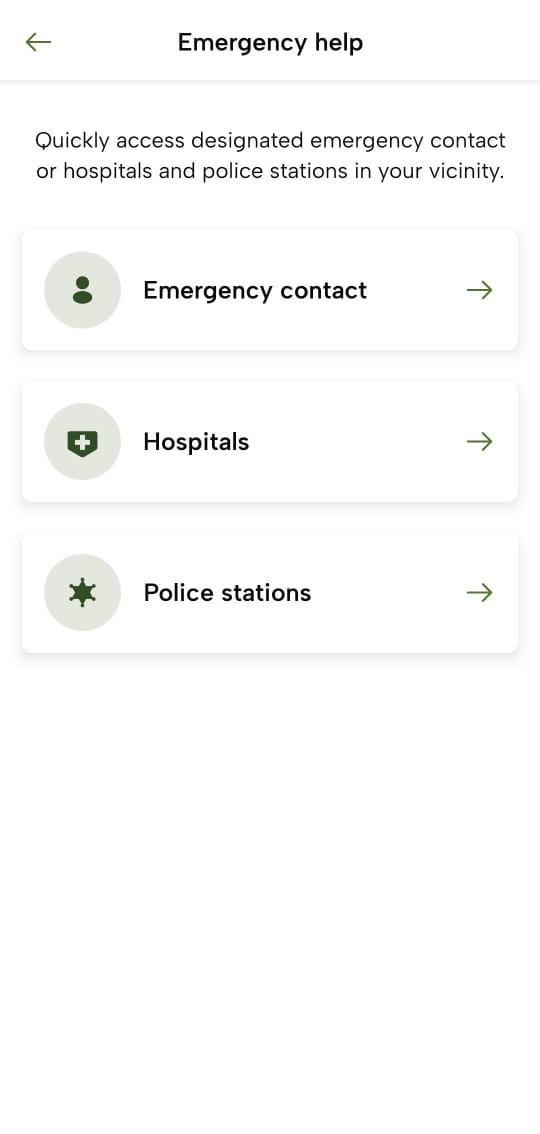
Emergency Help
Tap the “Alert” icon on the trail map to view the following emergency help contact details which you can refer to these lists in case of an emergency.
-
Emergency Contact
-
Hospitals
-
Police stations
Trail Navigation
-
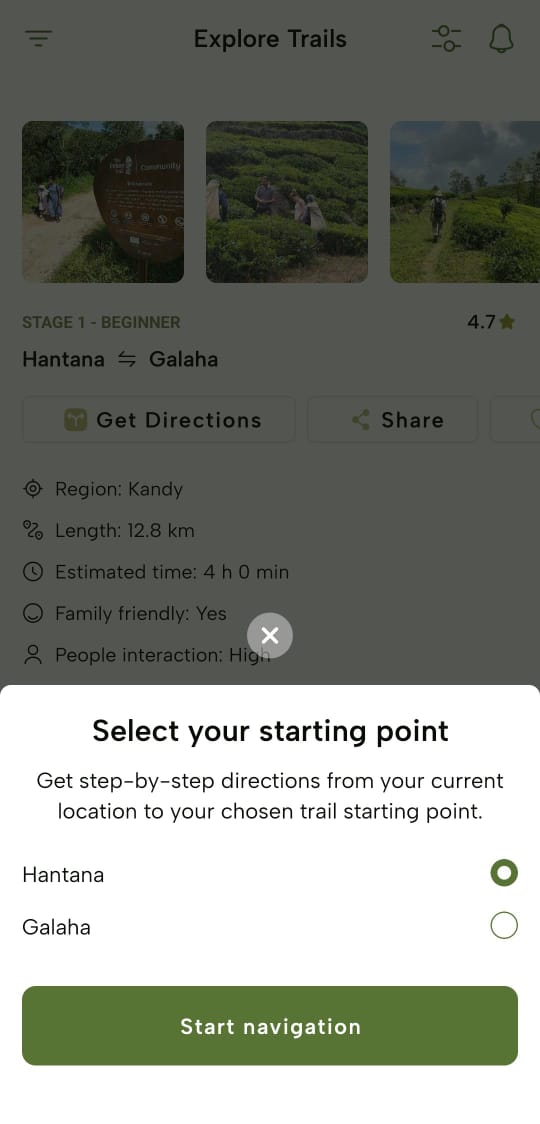
Tap “Get Directions” to find the starting point of the trail from your location.
-
Tap “Start navigation” and then access the mobile device’s Map function to navigate through the trail.
- The app will prompt you to input the direction you’re going on the trail, so be sure to select the appropriate starting point.
-
The app provides real-time GPS tracking, turn-by-turn directions, and points of interest along the trail.
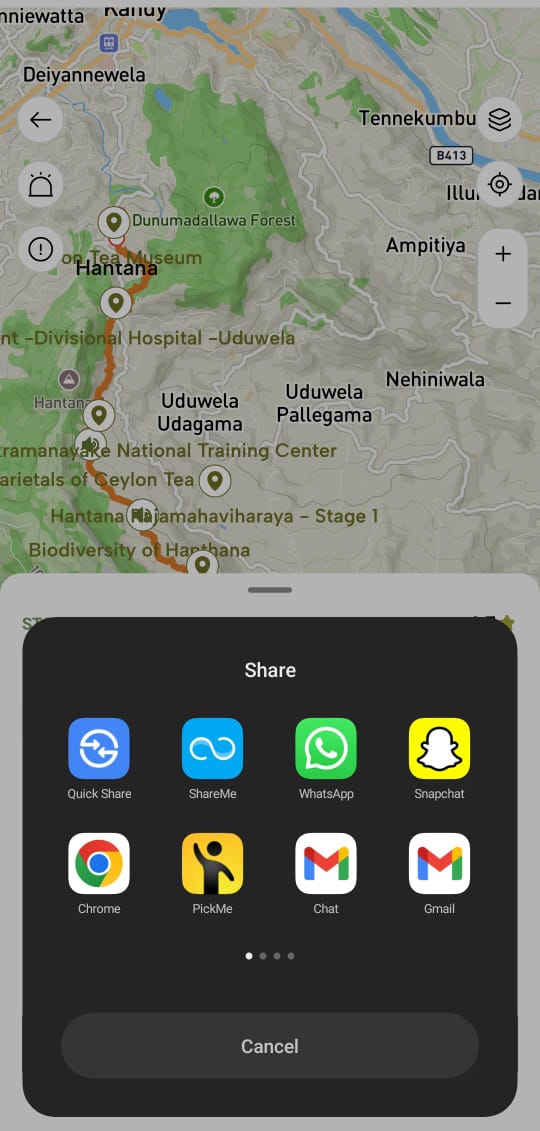
Share Stages
Tap “Share” to share the stage details on social media platforms or with others, like family members to let them know your plans for the day.
Save Stages
Tap “Save” to mark the stage profile as a favourite. Upon tap, the stage will be marked as “Saved”.

Points of Interests
Select the “Points of interests” tab to view highlighted locations along the trail that would spark interest in exploring the trail.
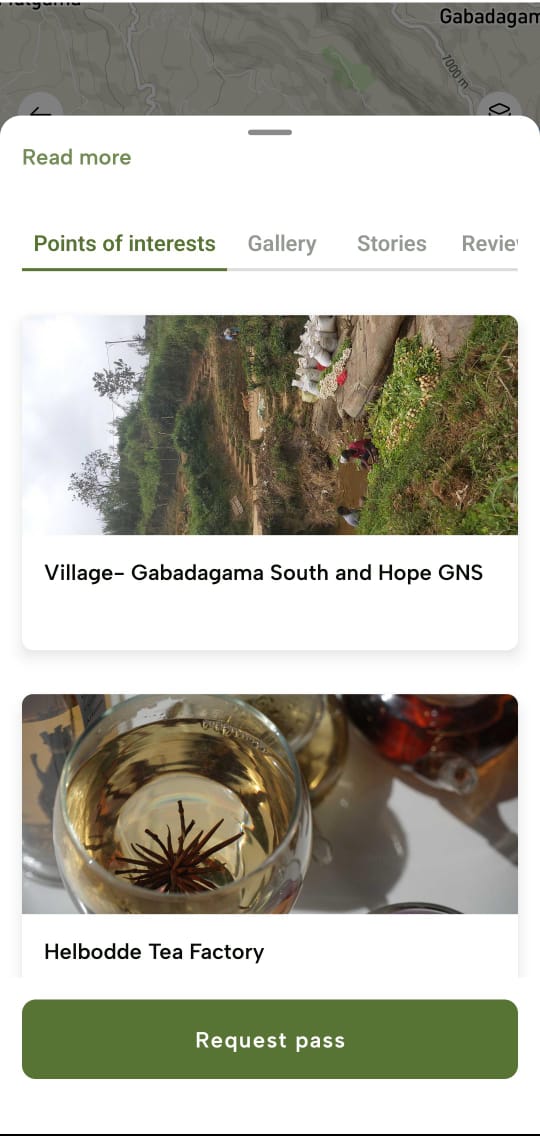
Gallery
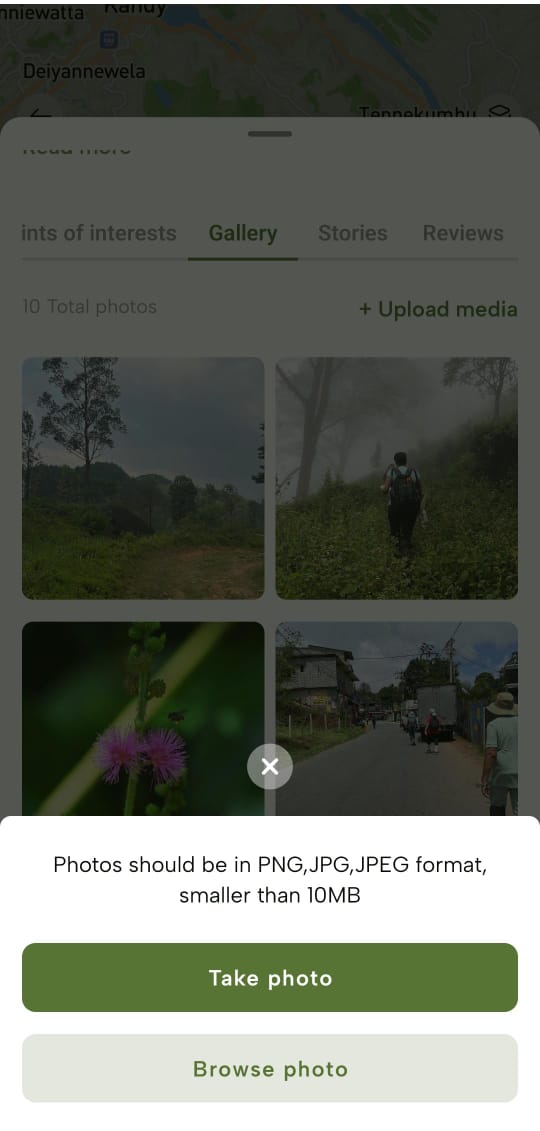
- Select the “Gallery” tab to view photos of the trail uploaded by hikers.
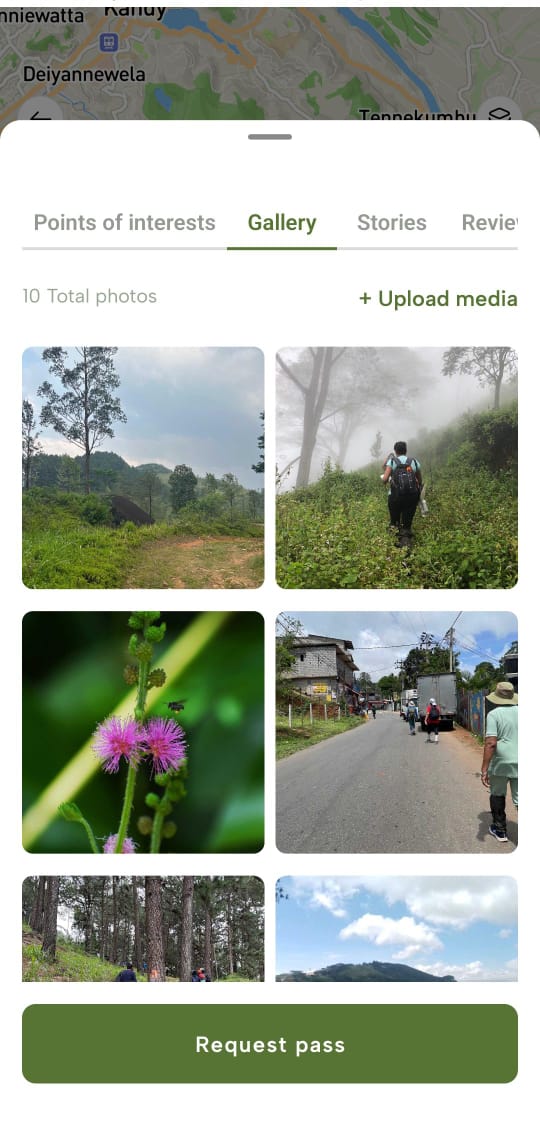
You can tap “+Upload media” to share photos from your own trail experience by either taking a new photo by tapping “Take photo’’ or via browsing the gallery to upload a photo by tapping “Browse photo”.
Stories
Select the “Stories” tab to listen to audio-format stories sharing trail experiences while reading through it as well.


Reviews and Ratings
Select the “Reviews” tab to see the shared personal experiences and opinions of other hikers as well as ratings given by them based on their personal trail experience.
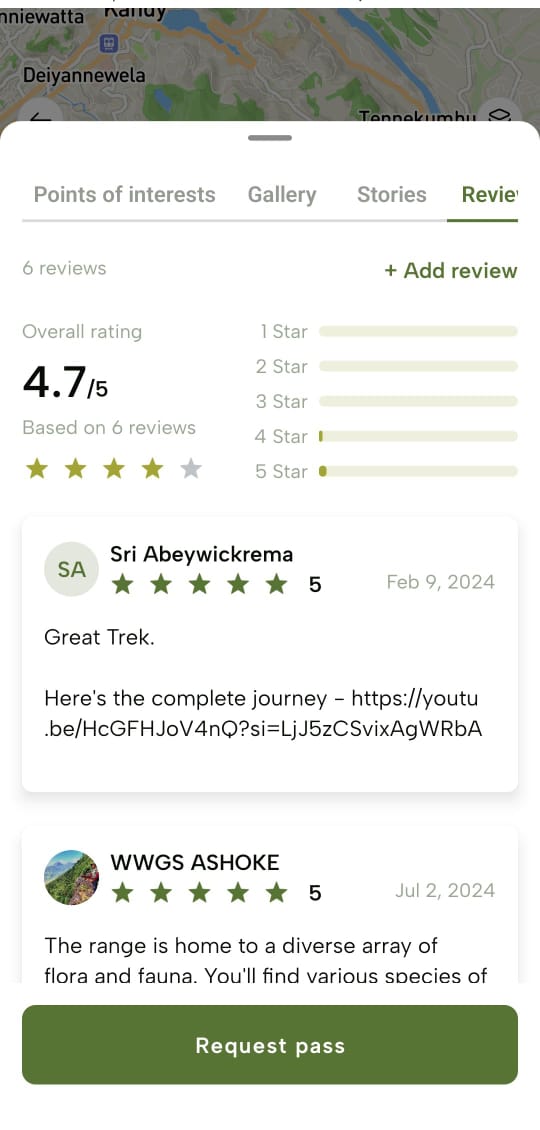
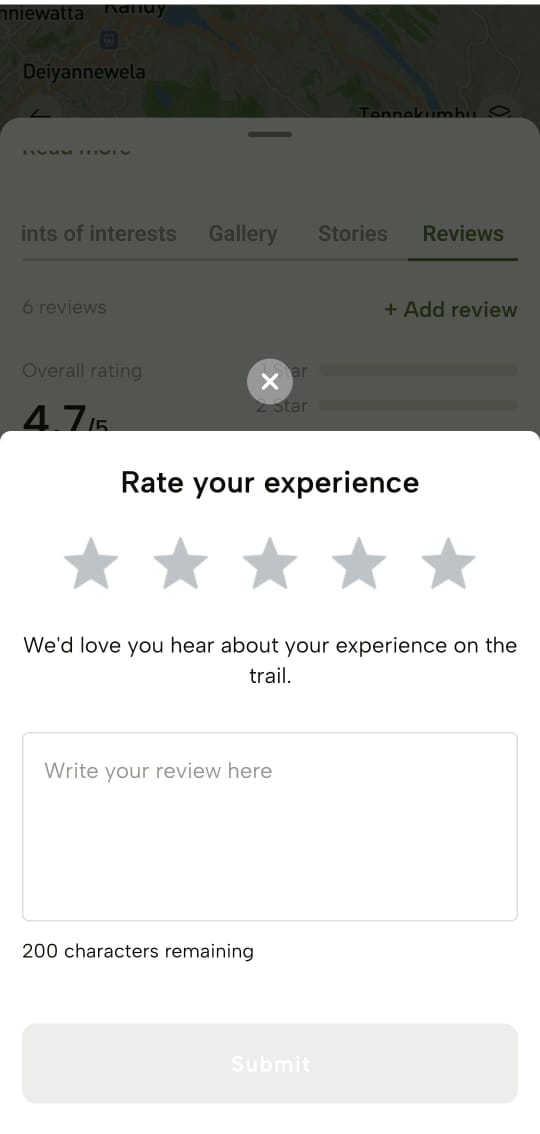
You can tap “Add review” to share your own trail experience to help the hiking community.
Trail Passes - The Pekoe Trail App Manual
Trail passes are required for each stage of The Pekoe Trail. Please note that some stages may have other entrance fees (i.e. Loolkandura Estate, Horton Plains National Park, Ella Rock in Kinigama Forest Reserve , etc.).
Buy your Pass
You can tap “Request pass” of a specific trail to proceed to request one or more than one pass based on your requirement.
Passes can be reserved in advance or requested on the day of your hike.
****Upon tapping, navigate to the following “Buy your pass” screen to select the date and number of passes required.
Currently Maximum number of Passes issued per person is 5.
After selecting, tap “Continue” to navigate to confirm the pass request upon viewing the summary of your request.
-
If you wish to edit the details on the pass request, tap “Edit request” to redirect to the “Requesting pass for” screen.
-
If you wish to proceed to confirm the pass request, tap “Confirm booking”.
-
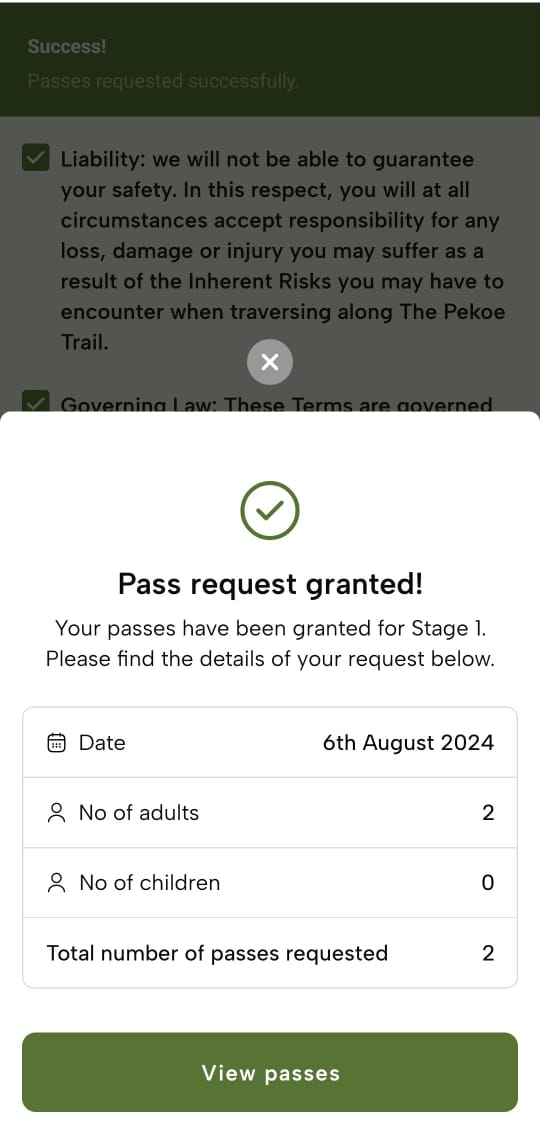
You’ll be navigated to the “Pass conditions” screen with checkboxes to check to mention a condensed version of the Terms and Conditions of the Pekoe Trail. Check all checkboxes if you wish to agree and then tap “Agree and continue”.
-
A confirmation message will be displayed.
-
View Passes
To view the granted passes, you can tap “View passes” on a pass request grant success message.
You can view all passes granted to you by tapping the “My Passes” icon on the footer and navigating to the “My passes” screen.
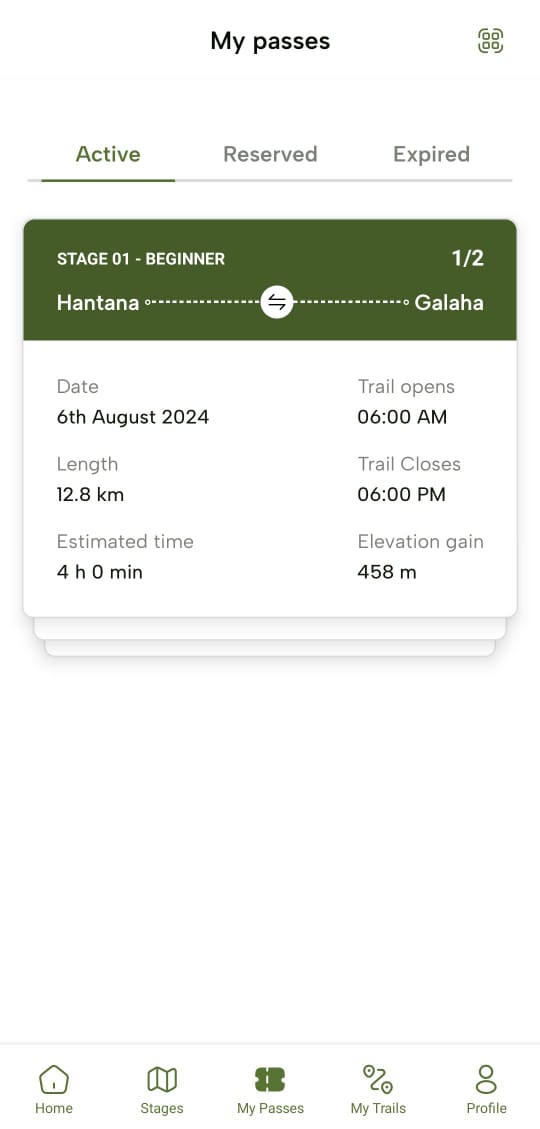
You can see the passes are divided into three categories as;
Active Passes
Active passes should be listed here.
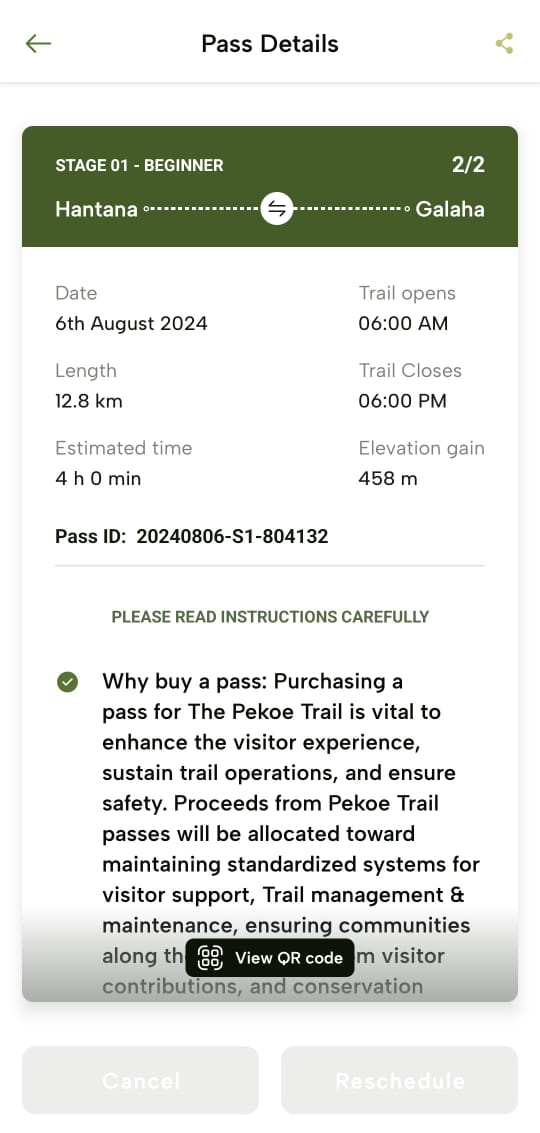
- Here you can tap on a pass or a set of passes to navigate to its “Pass Details” screen.
To redirect to the “Pass Details” screen, tap “View pass conditions”.
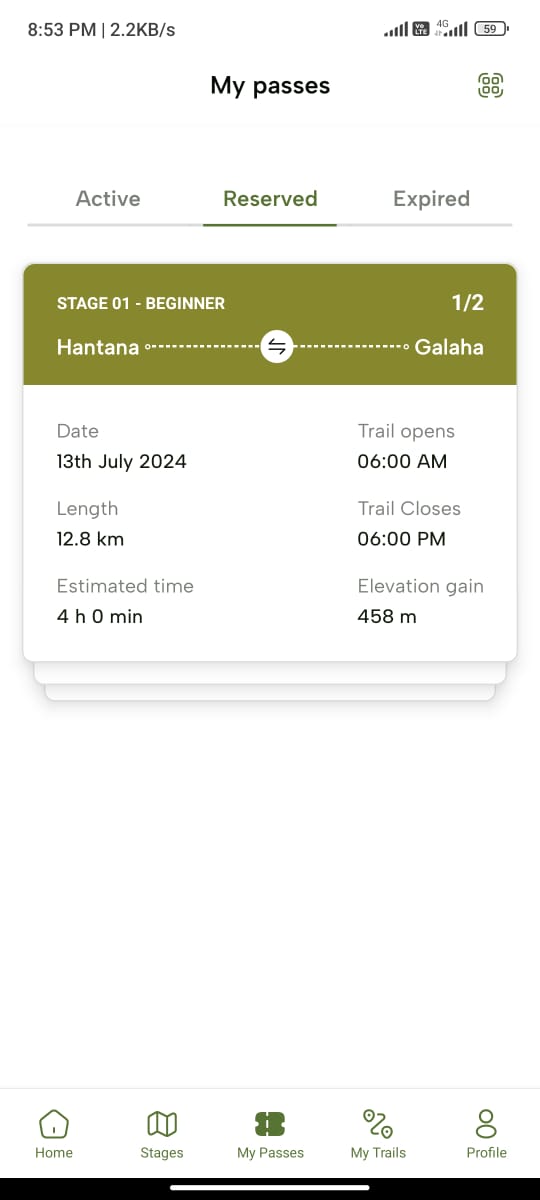
Reserved Passes
Reserved passes are listed here.
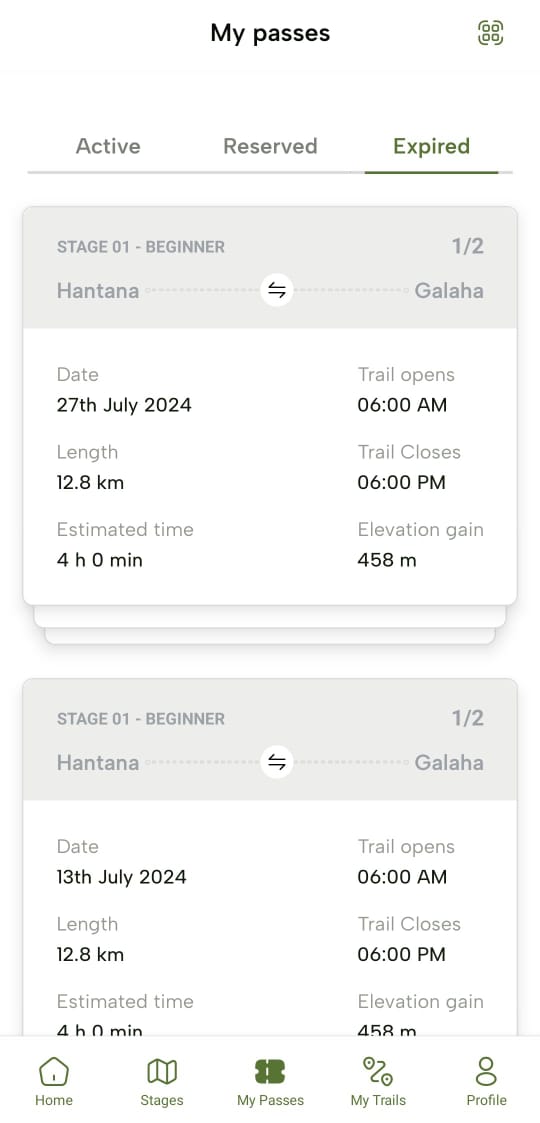
Expired Passes
Expired passes are listed here.
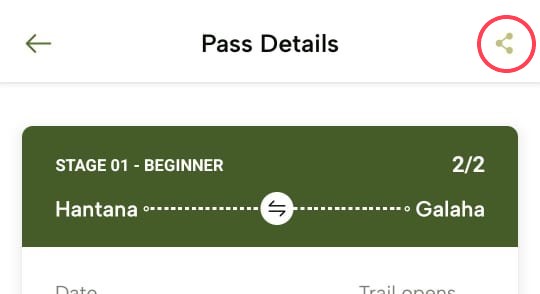
Share Passes
There are two ways to share the pass:
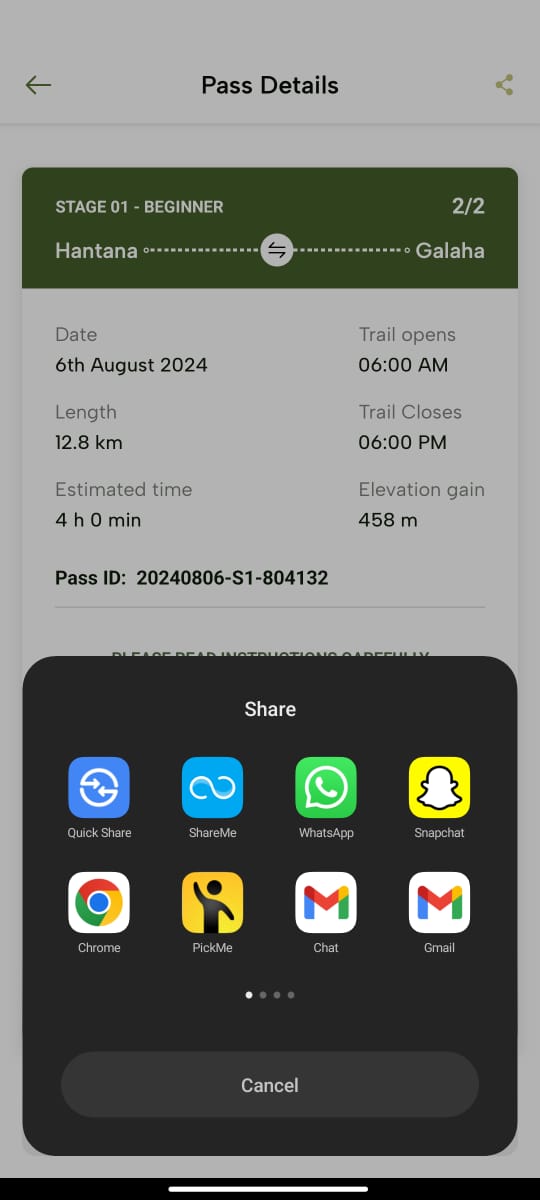
-
Tap the “Share” icon at the top right corner of the “Pass Details” screen. You can then send the pass through your preferred method (text, WhatsApp, etc).
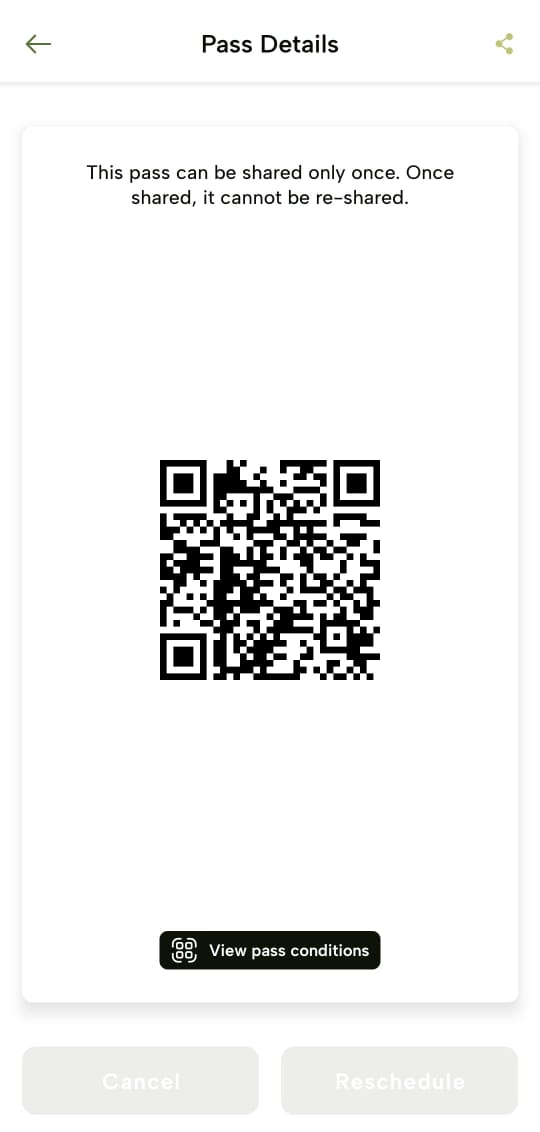
-
Or, tap “View QR Code”. This will display the QR code for that particular pass or set of passes. The person who wants to receive the pass will use the “Scan QR” icon in the upper right corner of the app to scan the QR code.
This feature is especially useful for guides who may reserve the passes for one or more clients and then share the pass with each client so they can experience the benefits of the app (such as the completion badges) on their own mobile devices.
Track Trail Progress - The Pekoe Trail App Manual
Upon tapping the “My Trails” icon on the footer, you’ll be navigated to the “My trails” screen where you can see three different categories;
Past
The trails you have already experienced are listed here.
Scheduled
The trails you have requested passes for and are yet to be explored are listed here.
Saved
The trails you have marked to be saved by tapping “Save” on its stage profile as a favourite is listed here.
Real-Time Tracking
-
While on a trail, your progress is automatically tracked from the moment when you tap “Start trail” at the beginning of your scheduled trail journey date.
-
You can view your current location, distance covered, time spent, and remaining distance.
Offline Maps
- You have access to offline maps downloadable function on the day of your hike.
Pause and Resume
- You can pause and resume tracking at any time by tapping the corresponding buttons.
Save Progress
-
Don’t forget to tap “Finish” once you are done with your hike. This will save your progress and you can view it as “Trail Summary” when you tap the “Complete and Save Progress”.
-
This includes a summary of your hike, such as total distance, time, and elevation gain which can be viewed upon tapping a certain completed trail pass.
Achievements & Badges
-
You can earn badges and rewards for completing trails and reaching milestones.
-
You can view your achievements under the following categories: “Stage-wise” and “Special”.
-
Stage-wise Badges - Awarded when you complete a particular stage successfully.
-
Special Badges - Awarded for special achievements (E.g. ‘Trail Veteran’ badge if you have completed five stages)
-
-
Access your achievements by selecting the "Profile" icon on the footer and tapping the “Achievements” section.
User Profile - The Pekoe Trail App Manual
Upon tapping the “Profile” icon on the footer, you’ll be navigated to the “Profile” screen of the user. You will see an overview of your trail experience:
-
The number of “Stages finished”
-
The “Time on trail”
-
The total “Distance travelled”
Your profile is sectioned into a few different categories.
Account information
-
Here, you can either update your existing user account details or newly add details: First Name, Last Name, Email Address, Nationality, Contact Number (optional), NIC (optional), Date of Birth (optional), and Password (optional).
-
Upon adding, tap "Save changes" to save all the added details.
-
If you wish to delete your user account, tap “Delete account”.
Emergency contact
You can update your emergency contact details here. This is the person you would want to be called if you have encountered an emergency on the trail.
Achievements
- The badges and rewards you earn for completing trails and reaching milestones will be displayed here, categorised namel:; “Special” and “Stage-wise”.
App Settings
You can update your metrics preference and whether to enable or disable push notifications received from the app here.
Change password
-
You can change your current app password here.
-
Enter your current password and the new password you are updating to and tap “Change password”.
- You can view the passwords while or after typing them by tapping on the “Eye” icon.
-
If you wish to reset your password instead, you can tap the “Forgot password” link and proceed to follow the steps to reset your password.
Terms and conditions
Here, you will see the latest updated Terms and Conditions for usage of The Pekoe Trail mobile app which you can scroll down and read if necessary.
Privacy policy
Here, four sections contain policies, terms and conditions and guidelines when using The Pekoe Trail mobile app which you can refer to if necessary.
Terms and Conditions
- You’ll see the latest updated Terms and Conditions for usage of The Pekoe Trail mobile app.
Privacy Policy
- You can view the latest updated Privacy Policy of The Pekoe Trail mobile app here.
Other Policies
- If there are other necessary policies relevant to The Pekoe Trail mobile app, those will be displayed here.
The Pekoe Trail Terms & Conditions
- You can see the set of terms and conditions relevant to The Pekoe Trail mobile app here.
Hiking guidelines
On this “Before you begin” screen, you will see guidelines for a safe hiking experience provided by The Pekoe Trail mobile app.
Logout
Upon tapping on “Logout” on the “Profile” screen, you will be successfully logged out of the mobile app and will be redirected to the “Login” screen to log in again.
Password Recovery - The Pekoe Trail App Manual
- Tap the “Forgot password” link on the “Login” screen and navigate to the “Reset password” screen.
- Enter your email address associated with your user account and tap “Send code”.
-
Receive a recovery code to the entered email address and enter that code on the “Enter recovery code” screen.
-
The code expires in 2 minutes.
-
If you didn’t receive the code or 2 minutes expired, tap “Re-send”.
**
4. Upon successful verification, navigate to the “Set new password” screen to enter a new password and tap “Reset password”.**
-
You can view the Password while or after typing it by tapping the “Eye” icon.
-
Now you can log in to your account using the new password.